Threaded stem caster wheels are essential for adding mobility to various objects, from heavy industrial equipment to everyday furniture. Proper installation ensures safety, functionality, and longevity. This guide will walk you through the entire process, from understanding the components to troubleshooting common issues.

heavy duty threaded stem casters
Understanding Threaded Stem Caster Wheels
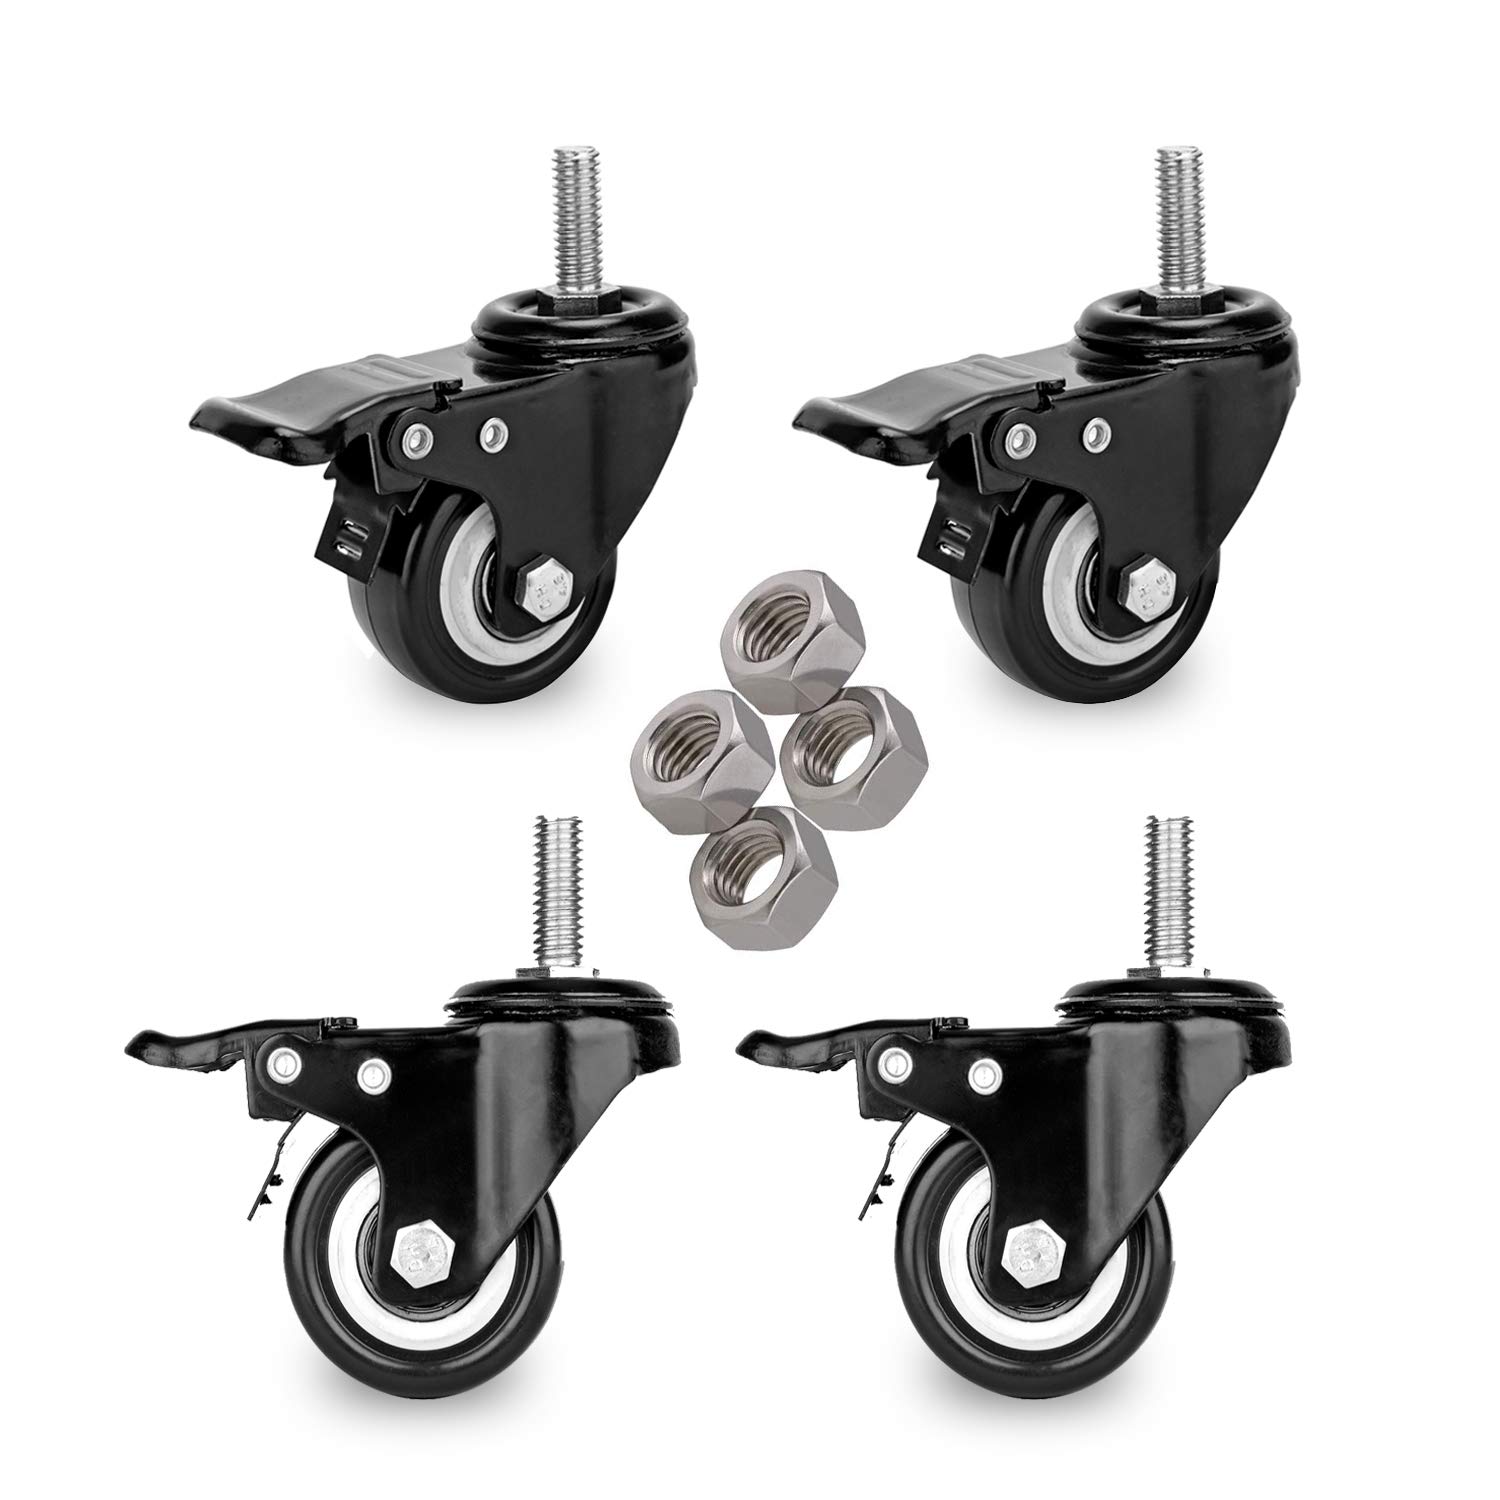
Threaded stem caster wheels consist of several key components that work together to provide smooth and reliable movement. The main parts include the wheel, bearings, and the threaded stem. The wheel, which contacts the ground, can be made from materials like rubber, polyurethane, or nylon. Rubber wheels offer good shock absorption on smooth surfaces, while polyurethane wheels are more durable and suitable for heavy loads. Bearings inside the wheel allow it to rotate smoothly and are typically made of steel. The threaded stem attaches the caster to the object and must match the threaded holes in the object for proper installation.
Types of Threaded Stem Caster Wheels
Threaded stem casters come in various types to suit different needs. Heavy-duty casters are designed for industrial use and can handle significant weight, while light-duty casters are more suitable for furniture and lighter equipment. Some casters include a built-in brake mechanism to prevent accidental movement. The diameter of the wheel affects its rolling efficiency and load capacity, with larger wheels being more suitable for heavy loads and uneven surfaces.
Preparing for Installation
To install threaded stem caster wheels, you will need a few essential tools. Calipers are crucial for accurately measuring the diameter of the threaded stem. They provide more precise measurements than a standard ruler or tape measure. Depending on the type of caster and the object you are attaching it to, you may need different wrenches or screwdrivers to tighten the stem or any additional nuts. A level can help ensure that the object is balanced after installation, and a measuring tape can be useful for checking distances and ensuring proper alignment.
Measuring the caster wheels with threaded stem
Accurate measurement of the threaded stem is crucial to ensure a proper fit. Use calipers to measure the diameter of the threaded stem. Make sure to measure the outer diameter of the threads. Measure the diameter of the threaded holes in the object where the casters will be installed. The hole size must match the stem diameter. Threaded stems typically come in standard sizes such as 1/4 inch, 5/16 inch, and 3/8 inch. Knowing the correct size will help you choose the right casters.
Inspecting the Object
Before you begin installation, it’s important to inspect the object to ensure it is ready for the casters. Check that the holes are clean and free of debris. Any obstructions can prevent the stem from screwing in properly. Ensure the surface where the casters will be installed is flat and free of damage. Uneven surfaces can cause the casters to wobble or not function correctly.
Aligning the Caster
Proper alignment is key to a successful installation. Place the caster wheel under the object, aligning the threaded stem with the threaded hole. Make sure the wheel is centered and straight. Double-check that the stem is aligned with the hole. Misalignment can cause the stem to strip the threads or not screw in fully.
Inserting the castors with threaded stem
Once the caster is aligned, you can begin the installation. Gently insert the threaded stem into the hole. Begin turning it clockwise by hand until it starts to screw in. Continue turning the stem clockwise until it is fully inserted. You may need to use a wrench or screwdriver to apply more force as you get closer to the end. If the stem is difficult to turn, try applying a small amount of lubricant to the threads. This can help reduce friction and make the process easier.
Securing the Caster
After the stem is fully inserted, you need to secure the caster. If your caster comes with a nut, place it under the stem and use a wrench to tighten it against the object. This will hold the caster securely in place. Give the caster a gentle push to ensure it is stable and does not wobble. If it feels loose, you may need to tighten the nut further.
Testing the Caster
Finally, it’s important to test the caster to ensure it is functioning correctly. Carefully move the object to test the caster’s mobility. Ensure the wheel rolls smoothly and the object moves easily. If the caster does not roll smoothly, check for any obstructions or damage to the wheel. If the stem feels loose, recheck the tightness of the nut.
Surface Considerations
The type of surface where the casters will be used can affect their performance. Smooth surfaces like tile or hardwood require wheels that provide good traction without scratching the floor. Rubber wheels are often a good choice. For carpets, wheels with a slightly larger diameter can help prevent the caster from sinking into the carpet fibers. If the casters will be used outdoors, consider wheels made from materials that are resistant to weather and UV damage.
Load Capacity and Distribution
Proper load distribution is essential for the longevity and safety of your casters. Ensure the weight of the object is evenly distributed across all casters. Uneven distribution can cause some casters to bear more weight than others, leading to premature wear. Do not exceed the maximum load capacity of the casters. Overloading can cause the wheels to deform or the stem to break.
Maintenance and Care
Regular maintenance can significantly extend the life of your casters. Periodically clean the wheels and stems to remove dirt and debris that can affect performance. Apply a small amount of lubricant to the bearings and threads to reduce friction and prevent rust. Regularly check the wheels for signs of wear and tear. Replace any damaged casters promptly to avoid safety issues.
Common Mistakes to Avoid
One of the most common mistakes is selecting casters with a stem that does not match the threaded holes in the object. Always double-check the measurements to ensure a proper fit. Both over-tightening and under-tightening the stem can cause problems. Over-tightening can strip the threads or damage the stem, while under-tightening can result in a loose caster that does not function properly. Find the right balance to ensure stability and longevity. Ignoring surface conditions can lead to poor mobility or damage to the wheels. Regular maintenance is essential for the longevity of your casters. Neglecting maintenance can lead to premature wear, reduced performance, and potential safety hazards.
Case Studies and Examples
Industrial Cart Installation
In an industrial setting, a heavy-duty cart needs to be equipped with casters that can handle significant weight and frequent movement. Use calipers to measure the diameter of the threaded stem on the casters you plan to install. Ensure the cart’s threaded holes are clean and free of debris. Check the surface condition to ensure it is flat and undamaged. Position the casters under the cart, aligning the stems with the holes. Insert the stems and turn them clockwise until they are fully screwed in. Tighten any nuts that come with the casters using a wrench. Ensure the casters are stable and do not wobble. Move the cart to test the casters’ functionality. Ensure the wheels roll smoothly.
Furniture Installation
For furniture applications, such as adding casters to a heavy cabinet, the process is similar but with some additional considerations. Measure the threaded stem diameter and ensure the cabinet’s holes match. Clean the holes and check the cabinet’s surface for any damage. Align the casters and insert the stems, turning them clockwise until fully inserted. Tighten any nuts securely. Test the cabinet’s mobility, ensuring it rolls smoothly and does not wobble.
Medical Equipment Installation
In a medical setting, installing casters on hospital beds or medical carts requires precision and attention to safety. Measure the stem diameter and ensure the medical equipment’s holes match. Clean the holes and check the surface for any damage. Align the casters and insert the stems, turning them clockwise until fully inserted. Tighten any nuts securely. Test the equipment’s mobility, ensuring it rolls smoothly and does not wobble. Medical casters often have additional features like brakes or locks, so ensure these are functioning correctly after installation.
Frequently Asked Questions
Can I Use Any Type of Caster for My Project?
No, not all casters are suitable for every project. The type of caster you need depends on the specific requirements of your application. Consider the weight capacity, the type of surface the casters will be used on, and whether you need additional features like brakes or locks. Heavy-duty casters are designed for industrial use and can handle significant weight, while light-duty casters are more suitable for furniture and lighter equipment.
How Often Should I Replace My Casters?
The lifespan of your casters depends on several factors, including the quality of the casters, the conditions in which they are used, and how well they are maintained. Regular inspection and maintenance can significantly extend their life. However, if you notice signs of wear and tear, such as wobbling, difficulty in rolling, or damage to the wheels or stem, it’s time to replace them. In general, casters used in heavy-duty industrial applications may need to be replaced more frequently than those used in lighter applications.
What Tools Are Essential for Installation?
The essential tools for installing threaded stem casters include calipers for measuring the diameter of the stem, wrenches or screwdrivers for tightening the stem or any additional nuts, and a level to ensure the object is balanced after installation. A measuring tape can also be useful for checking distances and ensuring proper alignment. Having the right tools will make the installation process easier and more efficient.
What If My Casters Are Wobbly After Installation?
If your casters feel wobbly after installation, there are a few things you can check. First, ensure that the stem is fully inserted and tightened securely. If the stem is loose, tighten the nut further using a wrench. Also, check that the caster is aligned properly with the object and that the surface where the casters are installed is flat and undamaged. If the problem persists, it may be necessary to replace the caster or check for any damage to the object’s threaded holes.
Conclusion
Installing threaded stem caster wheels is a straightforward process if you follow the right steps and use the correct tools. By understanding the components of the caster, preparing the object properly, and following the installation process carefully, you can ensure that your casters function smoothly and safely. Regular maintenance and attention to common mistakes can further extend the life of your casters and prevent potential issues. Whether you are installing casters on industrial equipment, furniture, or medical devices, this comprehensive guide provides the information you need to complete the task successfully. Remember, taking the time to do it right will save you time and effort in the long run.